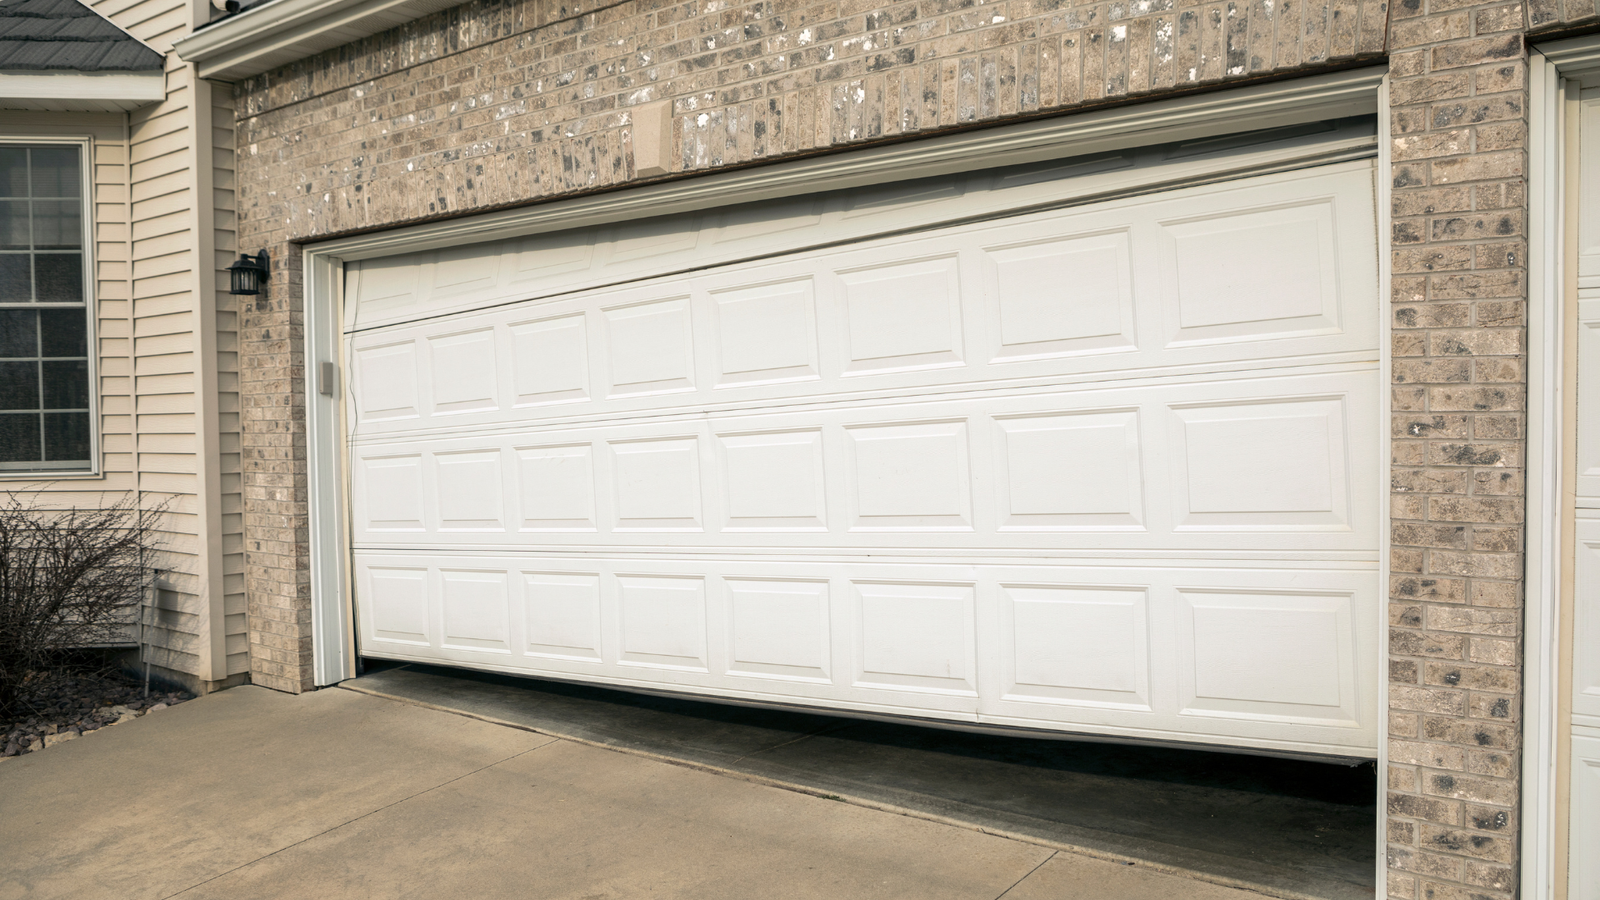
Garage door springs play a crucial role in the smooth operation of your garage door. When it’s time to replace them, understanding the process is essential for a safe and effective outcome. In this comprehensive guide, we’ll walk you through the steps, considerations, and precautions involved in replacing garage door springs.
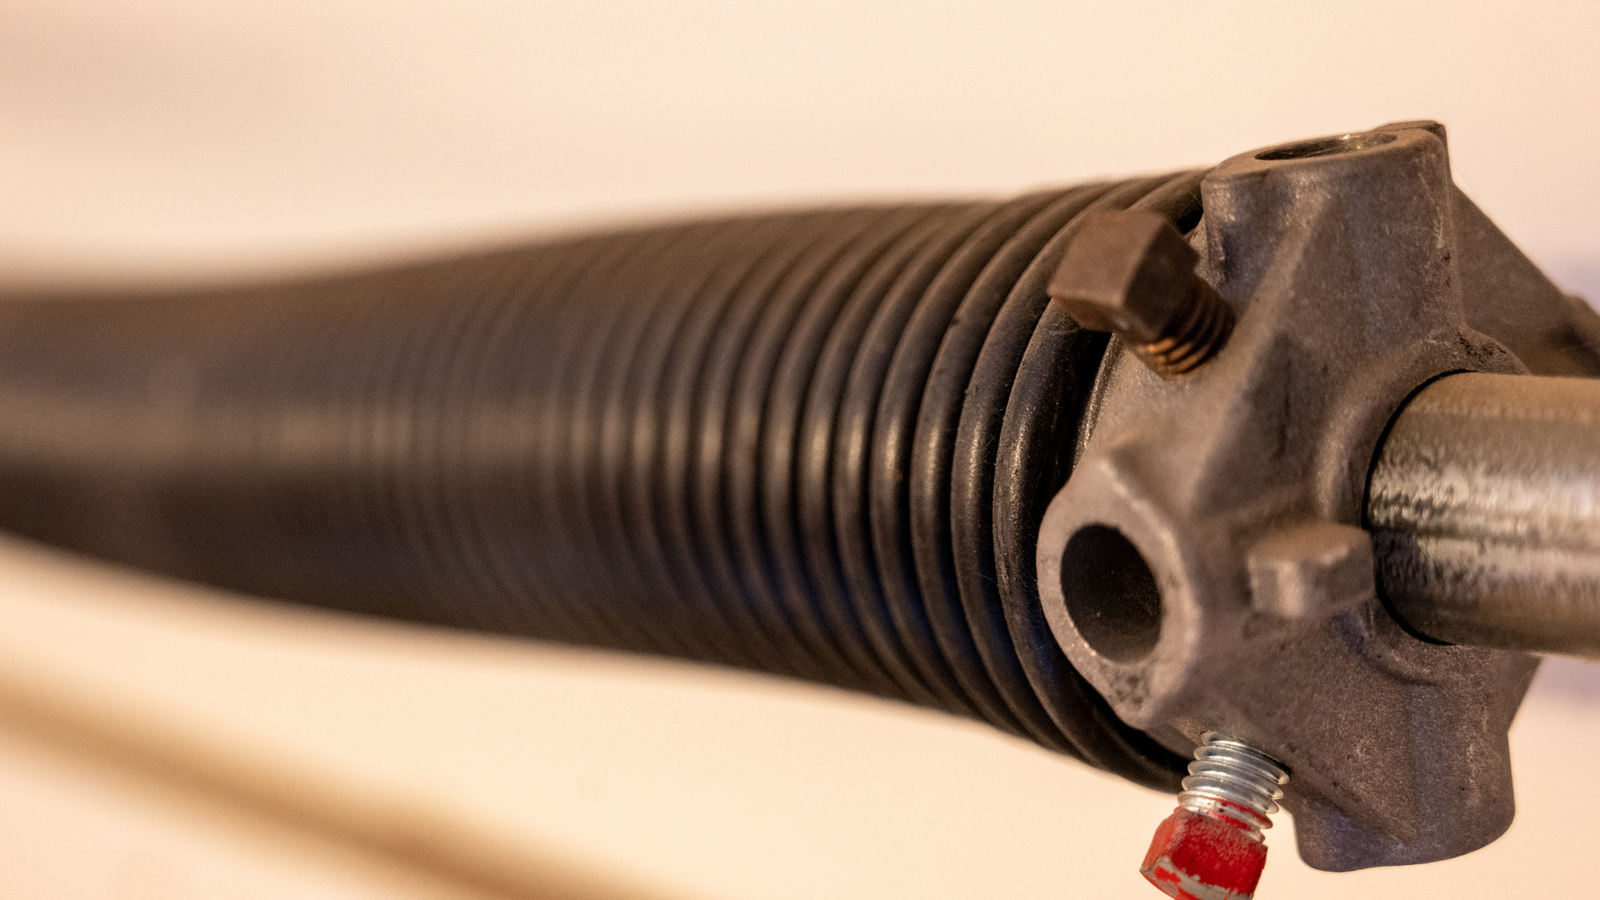
- Identifying the Type of Springs: Determine whether your garage door has extension or torsion springs. Each type requires different replacement procedures, and knowing the distinction is the first step in the process.
- Safety First: Before starting any work, ensure your safety and the safety of others. Disconnect the garage door opener, and use locking pliers to secure the door in the open position. Always wear safety glasses and gloves during the replacement process.
- Gather Necessary Tools: Collect the tools needed for the job, including winding bars, vice grips, a socket set, and a ladder. Having the right tools ensures a smoother and safer replacement process.
- Measuring and Ordering Springs: Accurately measure the length and diameter of your existing springs. Order replacement springs that match these specifications. If in doubt, consult with a professional to ensure you get the right type and size.
- Release Tension from Old Springs: For torsion springs, use winding bars to release tension before attempting to remove them. Extension springs should be fully extended and secured before removal.
- Remove and Replace Springs: Once tension is released, carefully remove the old springs. Install the new springs according to the manufacturer’s instructions. Follow a systematic approach, taking note of the specific placement and orientation of each component.
- Adjusting Torsion Springs: Torsion springs require careful adjustment to balance the garage door properly. This step is crucial for the door’s smooth operation and to prevent unnecessary wear on other components.
- Testing and Balancing: After installation, manually test the door’s balance by lifting it halfway and ensuring it stays in place. Make any necessary adjustments to achieve proper balance and smooth operation.
- Regular Maintenance: Once the new springs are in place, establish a routine maintenance schedule. Lubricate moving parts and visually inspect the springs for any signs of wear or damage.
- Consider Professional Assistance: If you’re uncomfortable or unsure about any aspect of the replacement process, it’s advisable to seek professional help. Garage door springs are under high tension and mishandling them can lead to serious injuries.